Renovating a century-old rowhome requires an entirely different approach than updating a suburban freestanding property. Across South Philadelphia, Queen Village, and Point Breeze, historic rowhomes offer incredible architectural charm, high ceilings, and walkable neighborhood lifestyles. Yet, beneath their classic red brick facades lie structural realities that can derail an unprepared renovation. Attempting to install brand-new kitchen cabinetry or luxury tile before addressing the underlying bones of the building inevitably leads to cracked finishes, sagging floors, and blown budgets.
The Unique Architecture of the Philadelphia Rowhouse
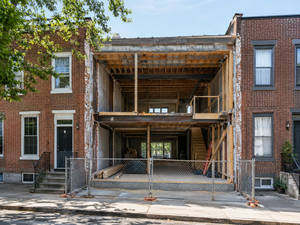
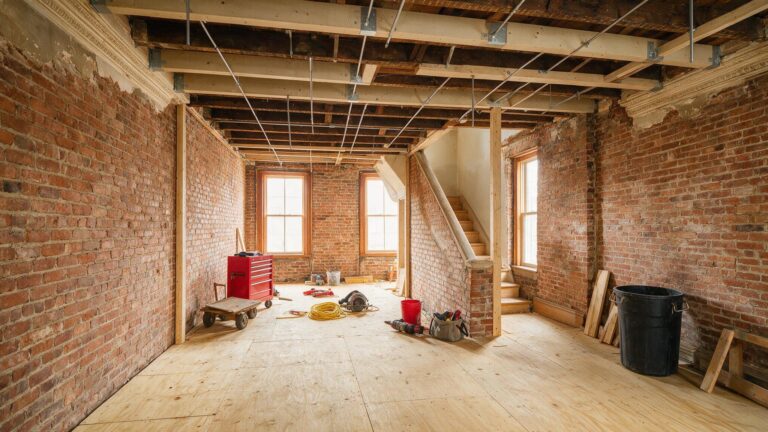
Most historic brick homes built in the late 19th and early 20th centuries were constructed using timber framing resting in brick masonry pockets, separated by shared brick party walls. These party walls carry the structural weight of both your home and your neighbor’s property. Over decades of settling, moisture exposure, and amateur alterations by previous owners, these framing assemblies shift.
Before committing to cosmetic surface upgrades, a thorough assessment of the property’s physical framing is necessary. Common structural conditions found in older urban properties include:
- Deflected Floor Joists: Over time, wooden floor joists slowly sag under consistent weight, resulting in sloping second-floor bedrooms or springy living room floors.
- Compromised Masonry Pockets: Moisture infiltrating brick walls can rot the ends of wooden joists where they rest inside the masonry, weakening the primary floor support.
- Undocumented Wall Removals: Previous owners often removed interior partition walls to create an open feel without installing properly sized structural headers to carry the load from the floors above.
Sequencing Your Rowhome Remodeling Project
A successful project relies entirely on proper construction sequencing. Work must proceed from the outside in and from the structural framing out toward the cosmetic finishes. When you manage construction phases logically, you avoid tearing out finished work to fix internal mechanical or structural failures later.
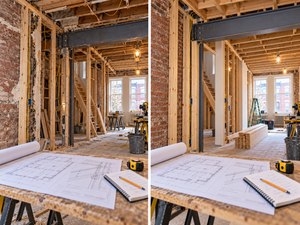
- Demolition and Discovery: Carefully opening up plaster walls and ceilings exposes the actual condition of the timber framing, masonry brickwork, and existing utility lines.
- Structural Stabilization: Sagging joists are leveled using structural sistering techniques, damaged structural timber is replaced, and engineered beams are installed where load-bearing walls are being modified.
- Mechanical, Electrical, and Plumbing (MEP) Rough-Ins: Outdated knob-and-tube wiring, lead or galvanized water pipes, and obsolete drainage lines are upgraded to modern municipal standards while the framing cavities are accessible.
- Framing and Systems Inspections: Municipal building inspectors review the open structural framing and utility lines before walls are closed.
- Insulation and Drywall: High-density insulation is added for thermal efficiency and soundproofing against shared party walls before hanging and finishing moisture-resistant drywall.
- Interior Finishes: Flooring installation, custom cabinetry, trim carpentry, painting, and fixture setting take place only after the building envelope and internal moisture levels are fully stabilized.
Navigating Municipal Permits and Building Codes
Executing structural repairs or altering the footprint of an older property is strictly regulated by local building authorities. Removing load-bearing structures, underpinning basements for extra ceiling height, or modifying primary plumbing stacks requires stamped architectural drawings and formal building permits. Working with an experienced contractor who coordinates directly with the Philadelphia Department of Licenses and Inspections ensures that all structural modifications meet current safety standards and pass required site inspections without project shutdowns.
The Value of Single-Source Contractor Coordination
Managing a structural renovation inside a narrow rowhome footprint presents intense logistical challenges. Urban streets limit parking for dumpsters and material delivery trucks, while narrow stairwells require precise material sizing and staging. A qualified general contractor orchestrates every trade—from structural ironworkers and masons to licensed electricians and finish carpenters—ensuring smooth workflows inside tight spaces.
By centralizing project management, your contractor maintains quality control across every phase, keeping your renovation on schedule and protecting your property from structural compromise. When you invest in professional Philadelphia rowhome renovation services, your home gains modern functionality and open-concept flow while preserving its historic integrity for decades to come.
Do I need a building permit to remove an interior wall in my rowhome? If the wall is load-bearing or houses critical plumbing stacks and electrical wiring, a municipal building permit is legally required. A general contractor or structural engineer must evaluate the wall before removal to determine if an engineered structural header is needed to support the floor above.
Why are the floors in my older Queen Village home sloping? Sloping floors in historic properties usually result from natural foundation settling, joist deflection over decades of load-bearing wear, or historical moisture damage that weakened the timber joist ends inside the masonry wall pockets.
How long does a full structural rowhouse renovation typically take? A comprehensive renovation involving structural framing repairs, full mechanical system replacement, and custom interior finishes generally requires four to eight months, depending on the property’s size and the complexity of the permitting process.
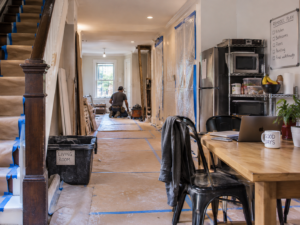
Can I live in my rowhome during a major structural remodel? When a project involves extensive structural beam installation, flooring removal, or full plumbing and electrical overhauls, the property will lack functioning utilities and basic living safety. Vacating the property during active structural demolition and rough-in work is strongly recommended.